



When you commission a ring rather than buying one from a case, you’re signing up for a process that runs for weeks and passes through several hands before anything reaches your finger. Knowing the sequence in advance is what keeps the experience calm instead of anxious, because you’ll understand what each stage is for and which decisions are hard to undo once they’re made. Here’s how a custom engagement ring goes from a first conversation to a finished piece, and what to ask along the way.
Working with a bespoke jeweller
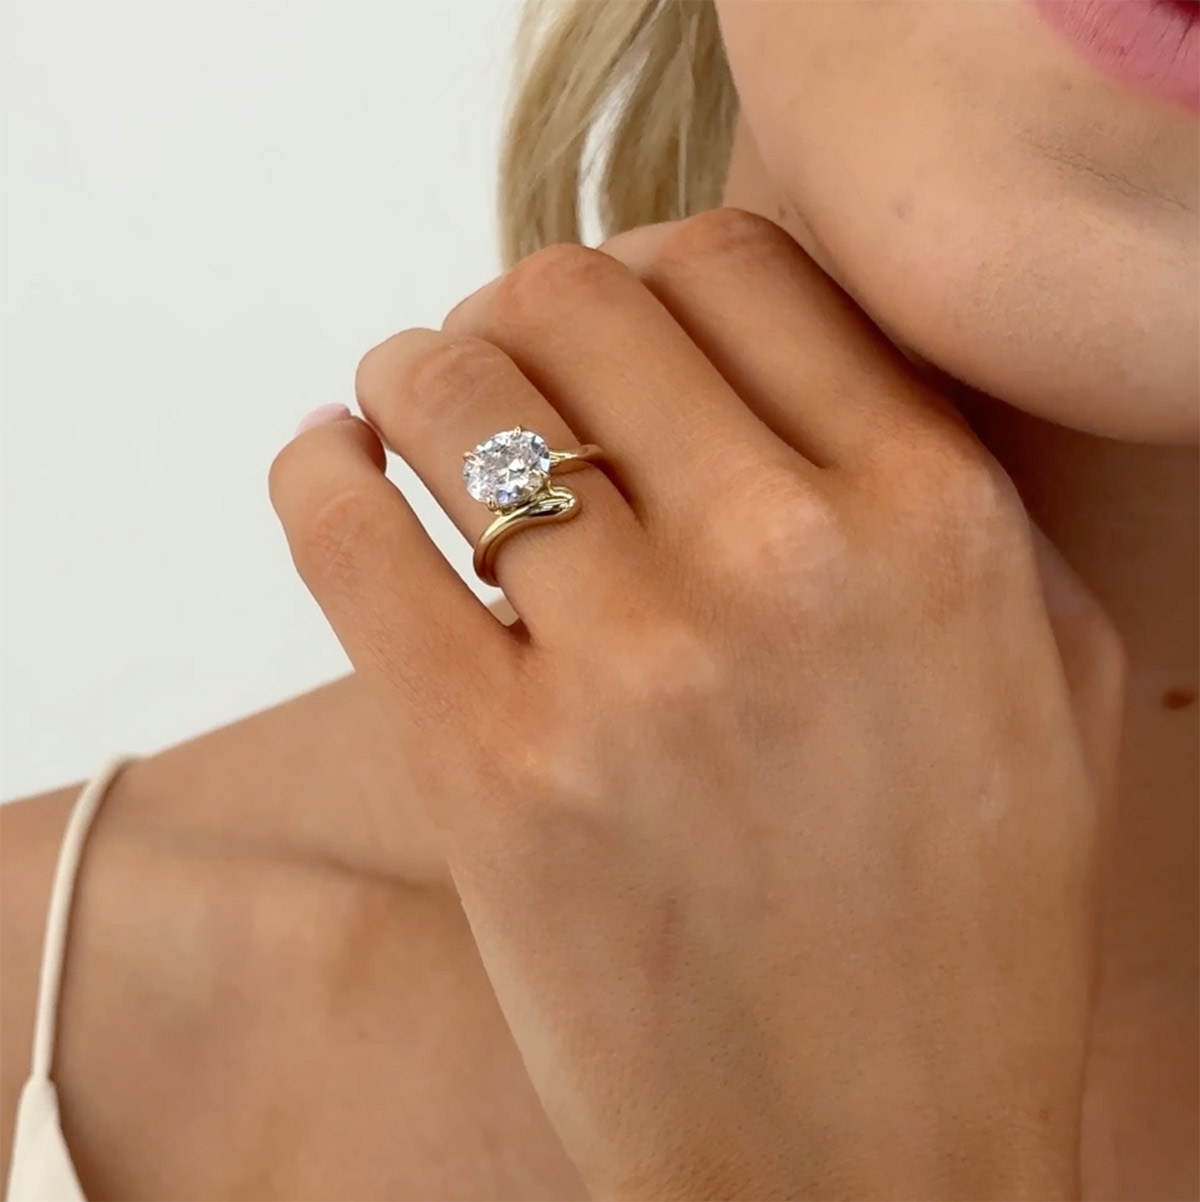
The first meeting rarely touches metal or stones at all. A bespoke jeweller builds the ring around the wearer rather than fitting a person to a ready-made design, so the first meeting usually focuses on lifestyle, hand shape, daily wear and stone priorities before any sketching begins. Adelaide bespoke studio Harry & Co, for example, pairs each couple with its founder, a qualified diamond grader, to shape a custom-designed engagement ring from first consultation through to the final setting. The studio works across natural diamonds, lab-grown diamonds, moissanite and coloured gemstones, so the centre stone can be matched to both budget and taste. Reviewing sketches and 3D renders before any metal is cast is what keeps a bespoke commission on track, because changes are simple on screen and costly once the ring exists.
This is also the stage to be honest about how the ring will be worn. If your hands are in and out of gloves, gym chalk, garden soil or dishwater most days, say so, because it changes the stone hardness and setting style a designer will steer you toward. A good consultation ends with a written brief: metal, rough budget band, stone direction, and a setting style, all agreed before anyone starts drawing.
Choosing the centre stone
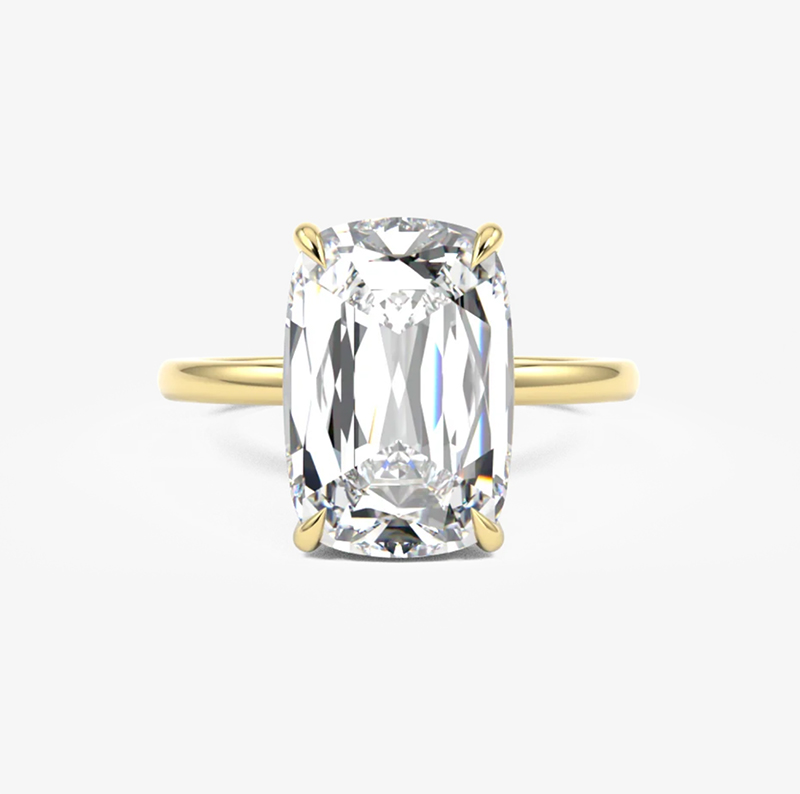
The centre stone drives most of the budget and much of the look, and you have four broad routes. A natural diamond carries the traditional appeal and holds resale conversation, but you pay for the rarity. A lab-grown diamond is chemically and optically the same material at a lower price per carat, which lets many couples size up or redirect the saving into the setting. Moissanite is a different mineral that reads brighter and more fiery than a diamond and costs a fraction of either, though some people find that extra sparkle a giveaway under certain light. Coloured gemstones, sapphires and spinels especially, open up personality and often a lower price, with the trade-off that softer stones need more care.
Hardness is the practical filter here, and it’s worth checking a stone against the Mohs scale before you fall for a colour. Diamond sits at the top, with sapphire close behind and fine for daily wear. Softer stones like opal or emerald are better kept for rings that come off for anything rough. Your grader should walk you through cut, clarity, colour and carat weight for whichever route you pick, rather than leaving you to decode a certificate alone.
From sketch to CAD and 3D render
Once the brief and stone are settled, the designer sketches. These early drawings are deliberately loose, meant to test proportion and profile, not to be admired. Expect two or three directions, and expect to kill at least one. This is the cheapest possible moment to change your mind, so use it.
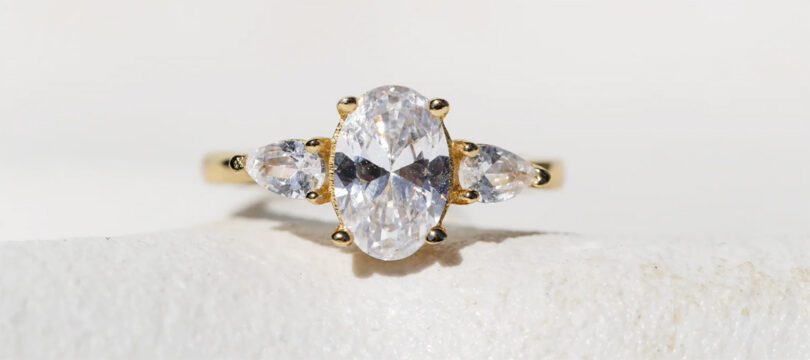
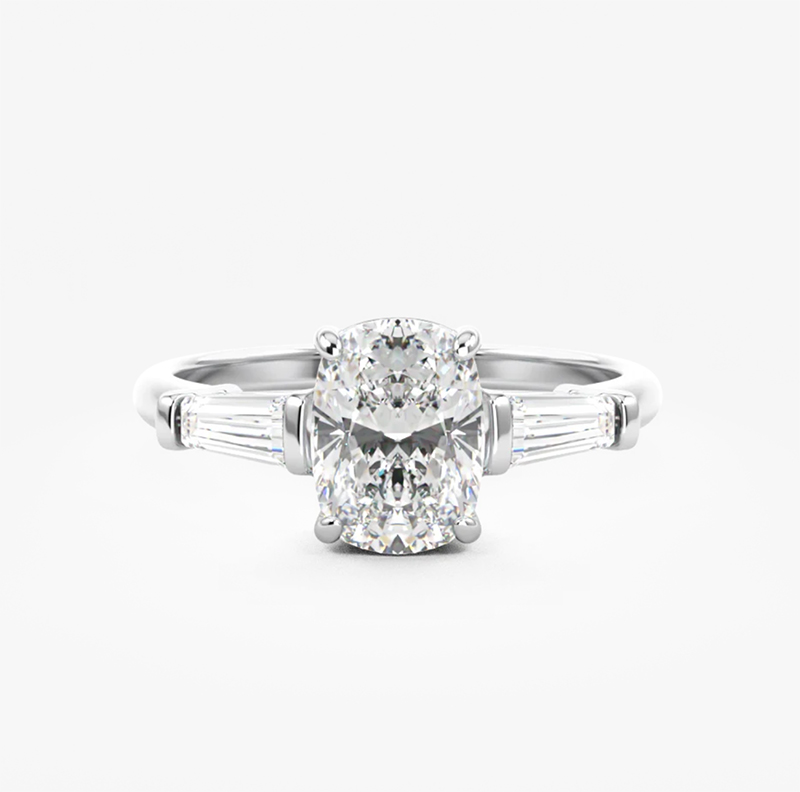
The chosen sketch then moves into CAD, computer-aided design, where the ring is modelled in three dimensions to exact measurements. The 3D render is the make-or-break sign-off point. You’ll see the band width, the height the stone sits at, how the shoulders taper, and how a wedding band will eventually fit alongside it. Rotate it and check the details that photograph well but wear badly, such as a very high setting that catches on clothing or a gallery so fine it’s hard to clean. Everything you approve here becomes the physical ring, so read the render closely: it is the specification the finished ring is built to.
Wax, casting and hand setting
With the CAD approved, the studio produces a wax or resin model of the ring, either 3D-printed or hand-carved, so you can see the shape at real scale before it’s committed to metal. That model is then cast using the lost-wax method: the wax is encased and burned out, then molten gold or platinum is poured into the cavity it leaves. What comes out is a rough casting that looks little like the final piece, dull and unfinished.
The craft that follows is where a bespoke ring earns its price. The casting is filed and pre-polished, then a setter places the stones by hand, cutting tiny seats and folding metal over each one so it’s held securely and sits true. Hand setting is slow and unforgiving, and it’s the main reason a custom ring takes longer than pulling one from stock. A final polish and a clean bring up the shine you saw in the render.
Timelines and what to ask before you commit
Plan on roughly four to eight weeks from first consultation to finished ring, and longer if you’re sourcing an unusual coloured stone or a particular diamond. Proposing on a date? Add a buffer, because casting and setting don’t rush well, and a rushed setting is a returned setting.
Before you hand over a deposit, get clear answers on a short list of things. Ask who actually grades or sources your stone and whether you’ll see independent certification for a diamond. Ask how many render revisions are included and what a change costs once CAD is locked. Ask what the metal and setting are warranted against, and what resizing later will involve. Ask for the timeline in writing with a sign-off point marked, and confirm what happens to your deposit if you walk away after seeing the renders. A studio that answers these plainly is one you can trust with the part of the process you can’t see: the hours at the bench that turn a file on a screen into the ring you’ll wear every day.